# Power BI
Note for external users - many of the links in the following section refer to internal applications. Please speak to your project team for support.
# Prerequisites
You can download DDB Power BI plugin from here (opens new window)
There are no other requirements to build dashboards other than Power BI and the DDB connector.
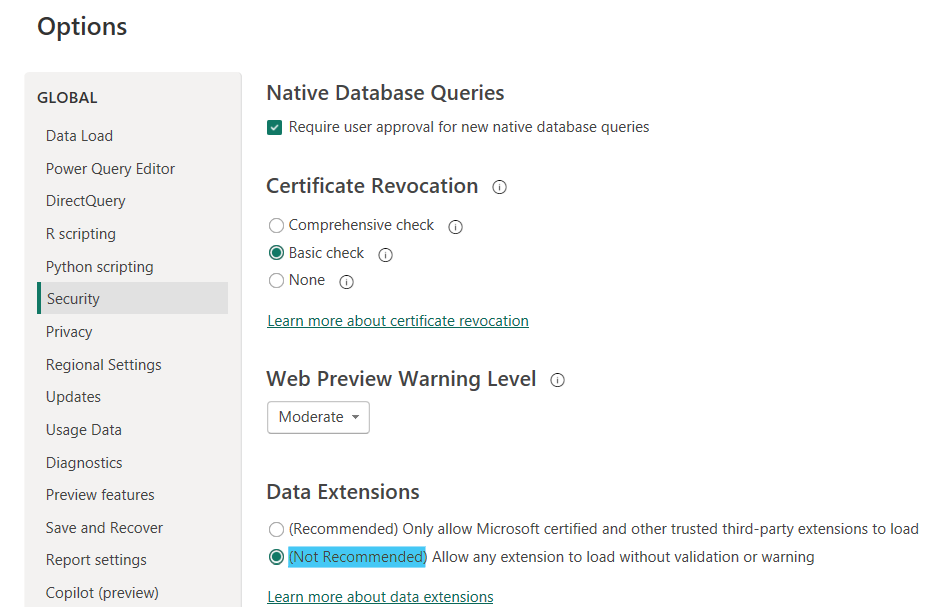
Can't see the connector? - Navigate to
Settings-> Options-> Securityand select the(Not Recommended) Allow any extension to load without validation or warningoption underData Extensions, as shown below.
# Step by Step Guide
# Creating Reports
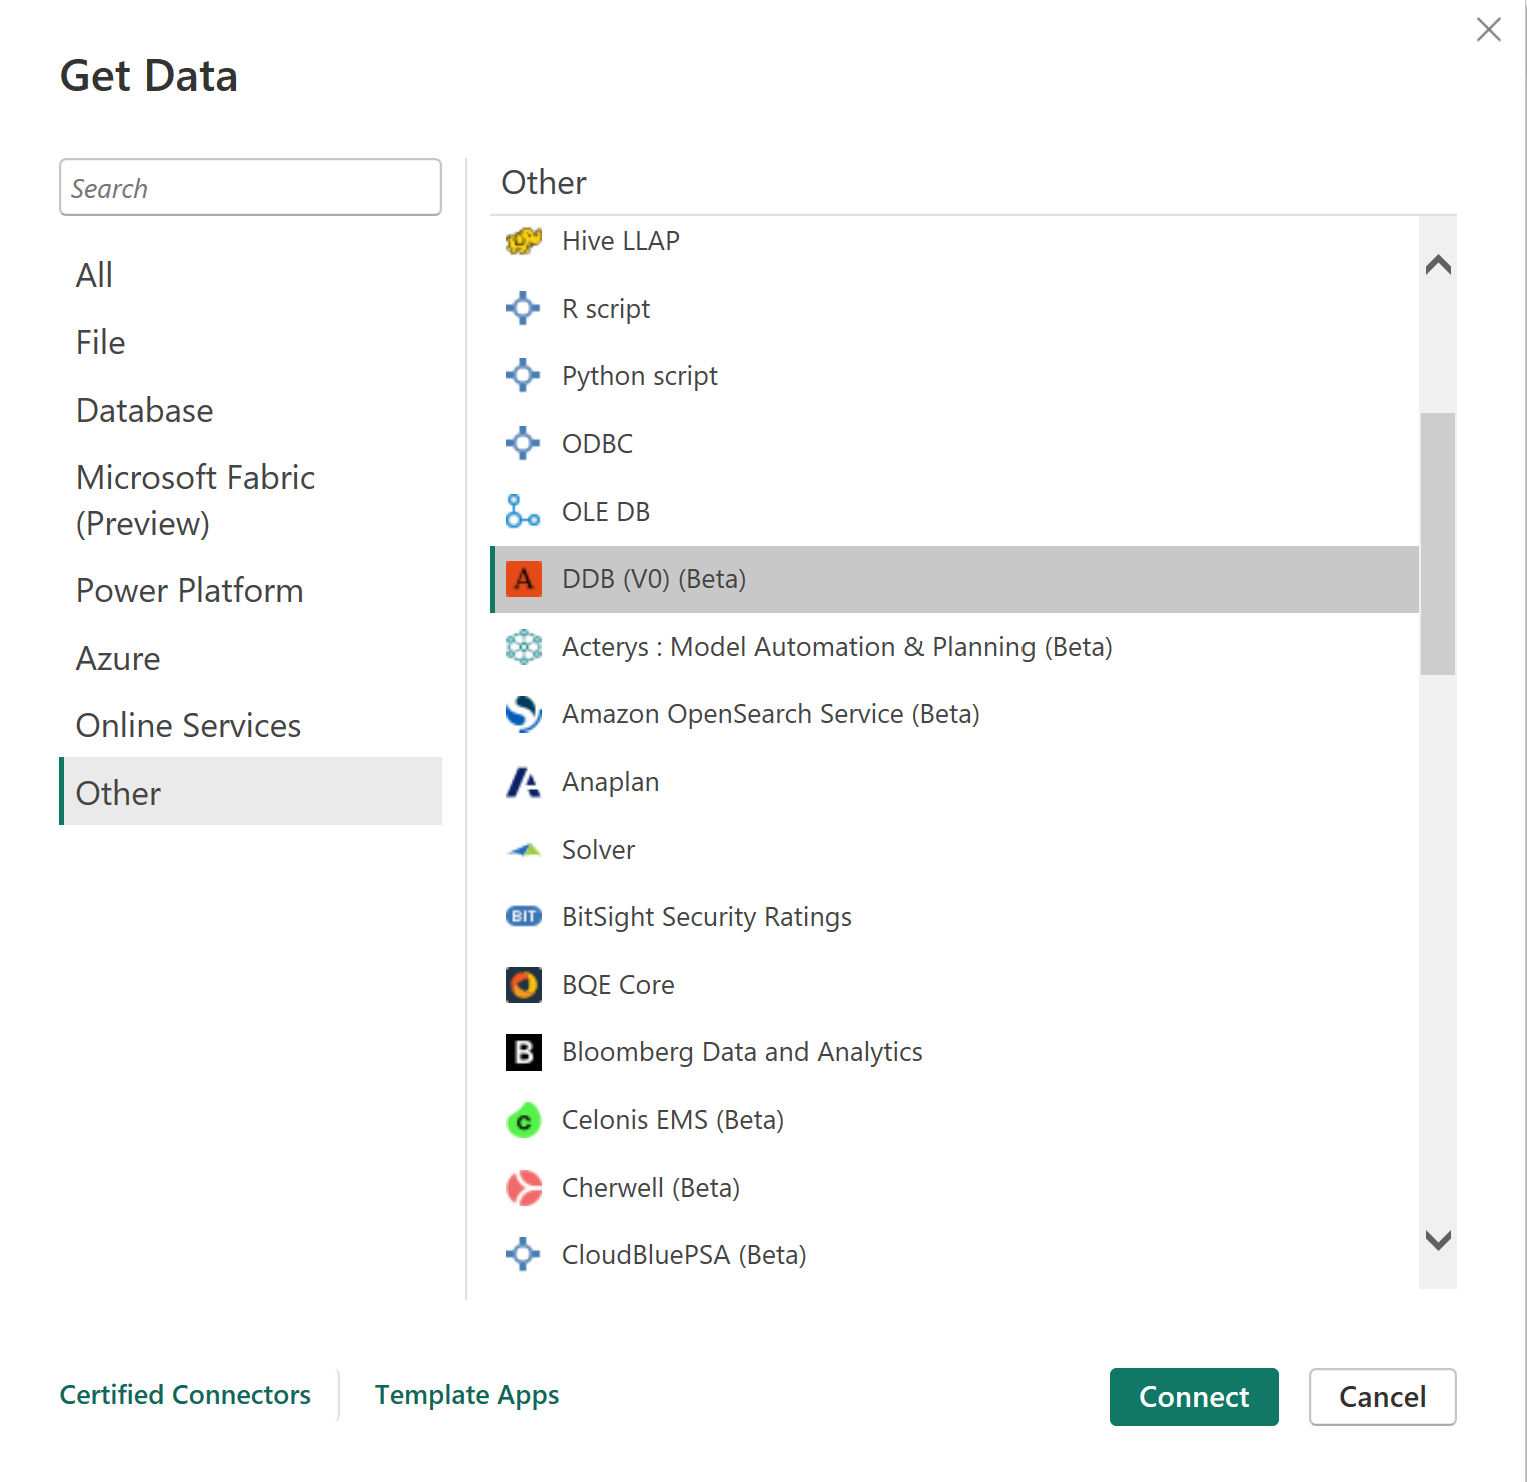
Once the connector has been installed, you can start loading data by selecting Get Data and finding the DDB entry under Other.
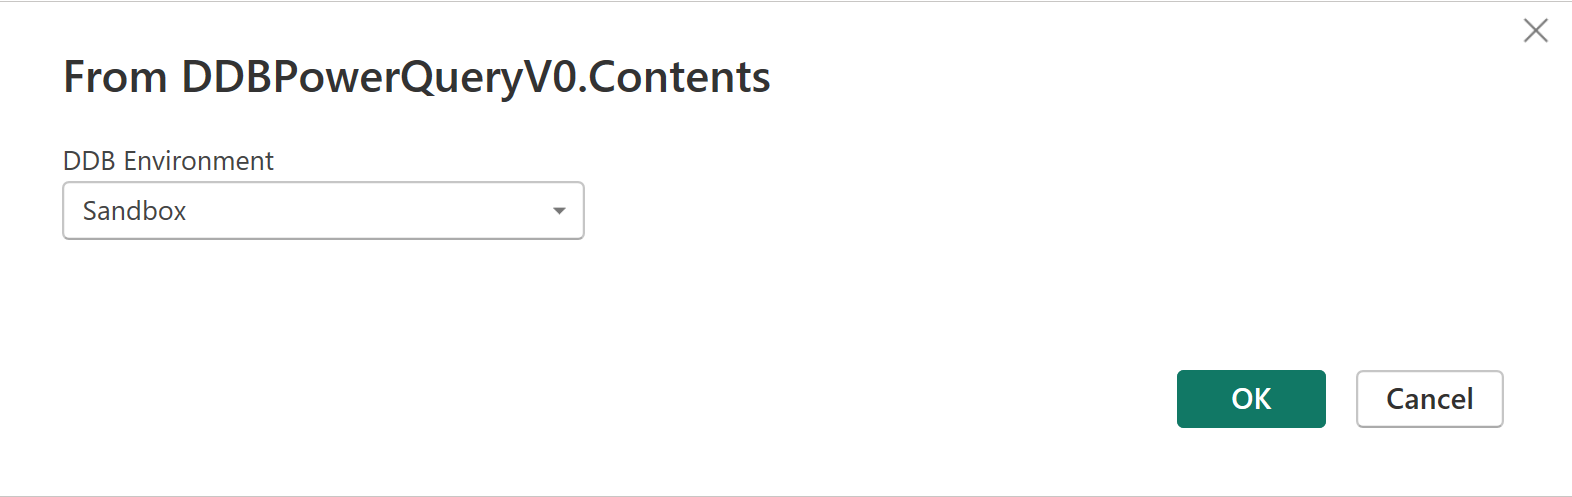
Next, select the environment you want to load data from. If you are loading data from multiple environments you can select DDB multiple times in Get Data.
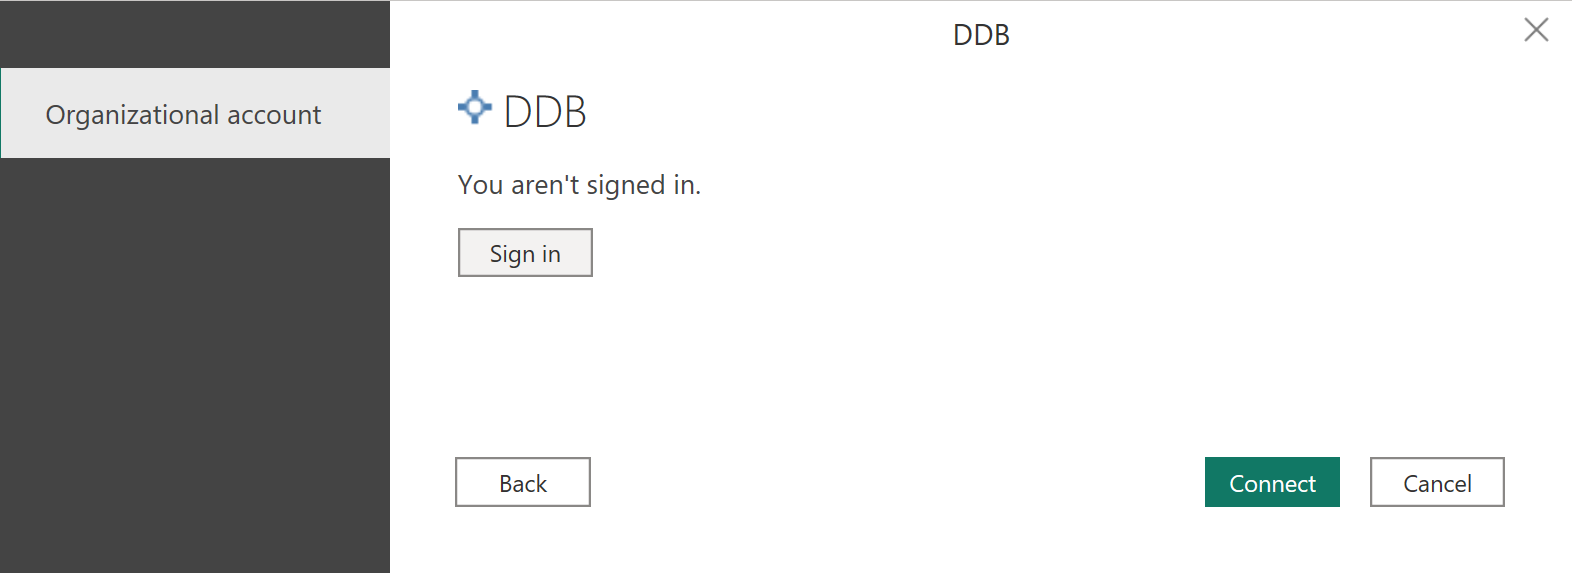
You may be prompted to sign in. After clicking the button you should be automatically signed in, and you can proceed by selecting Connect.
The data is organised according to each route in each microservice, the documentation for which can be found here. The query parameters on each route are reflected in the parameters for each table.
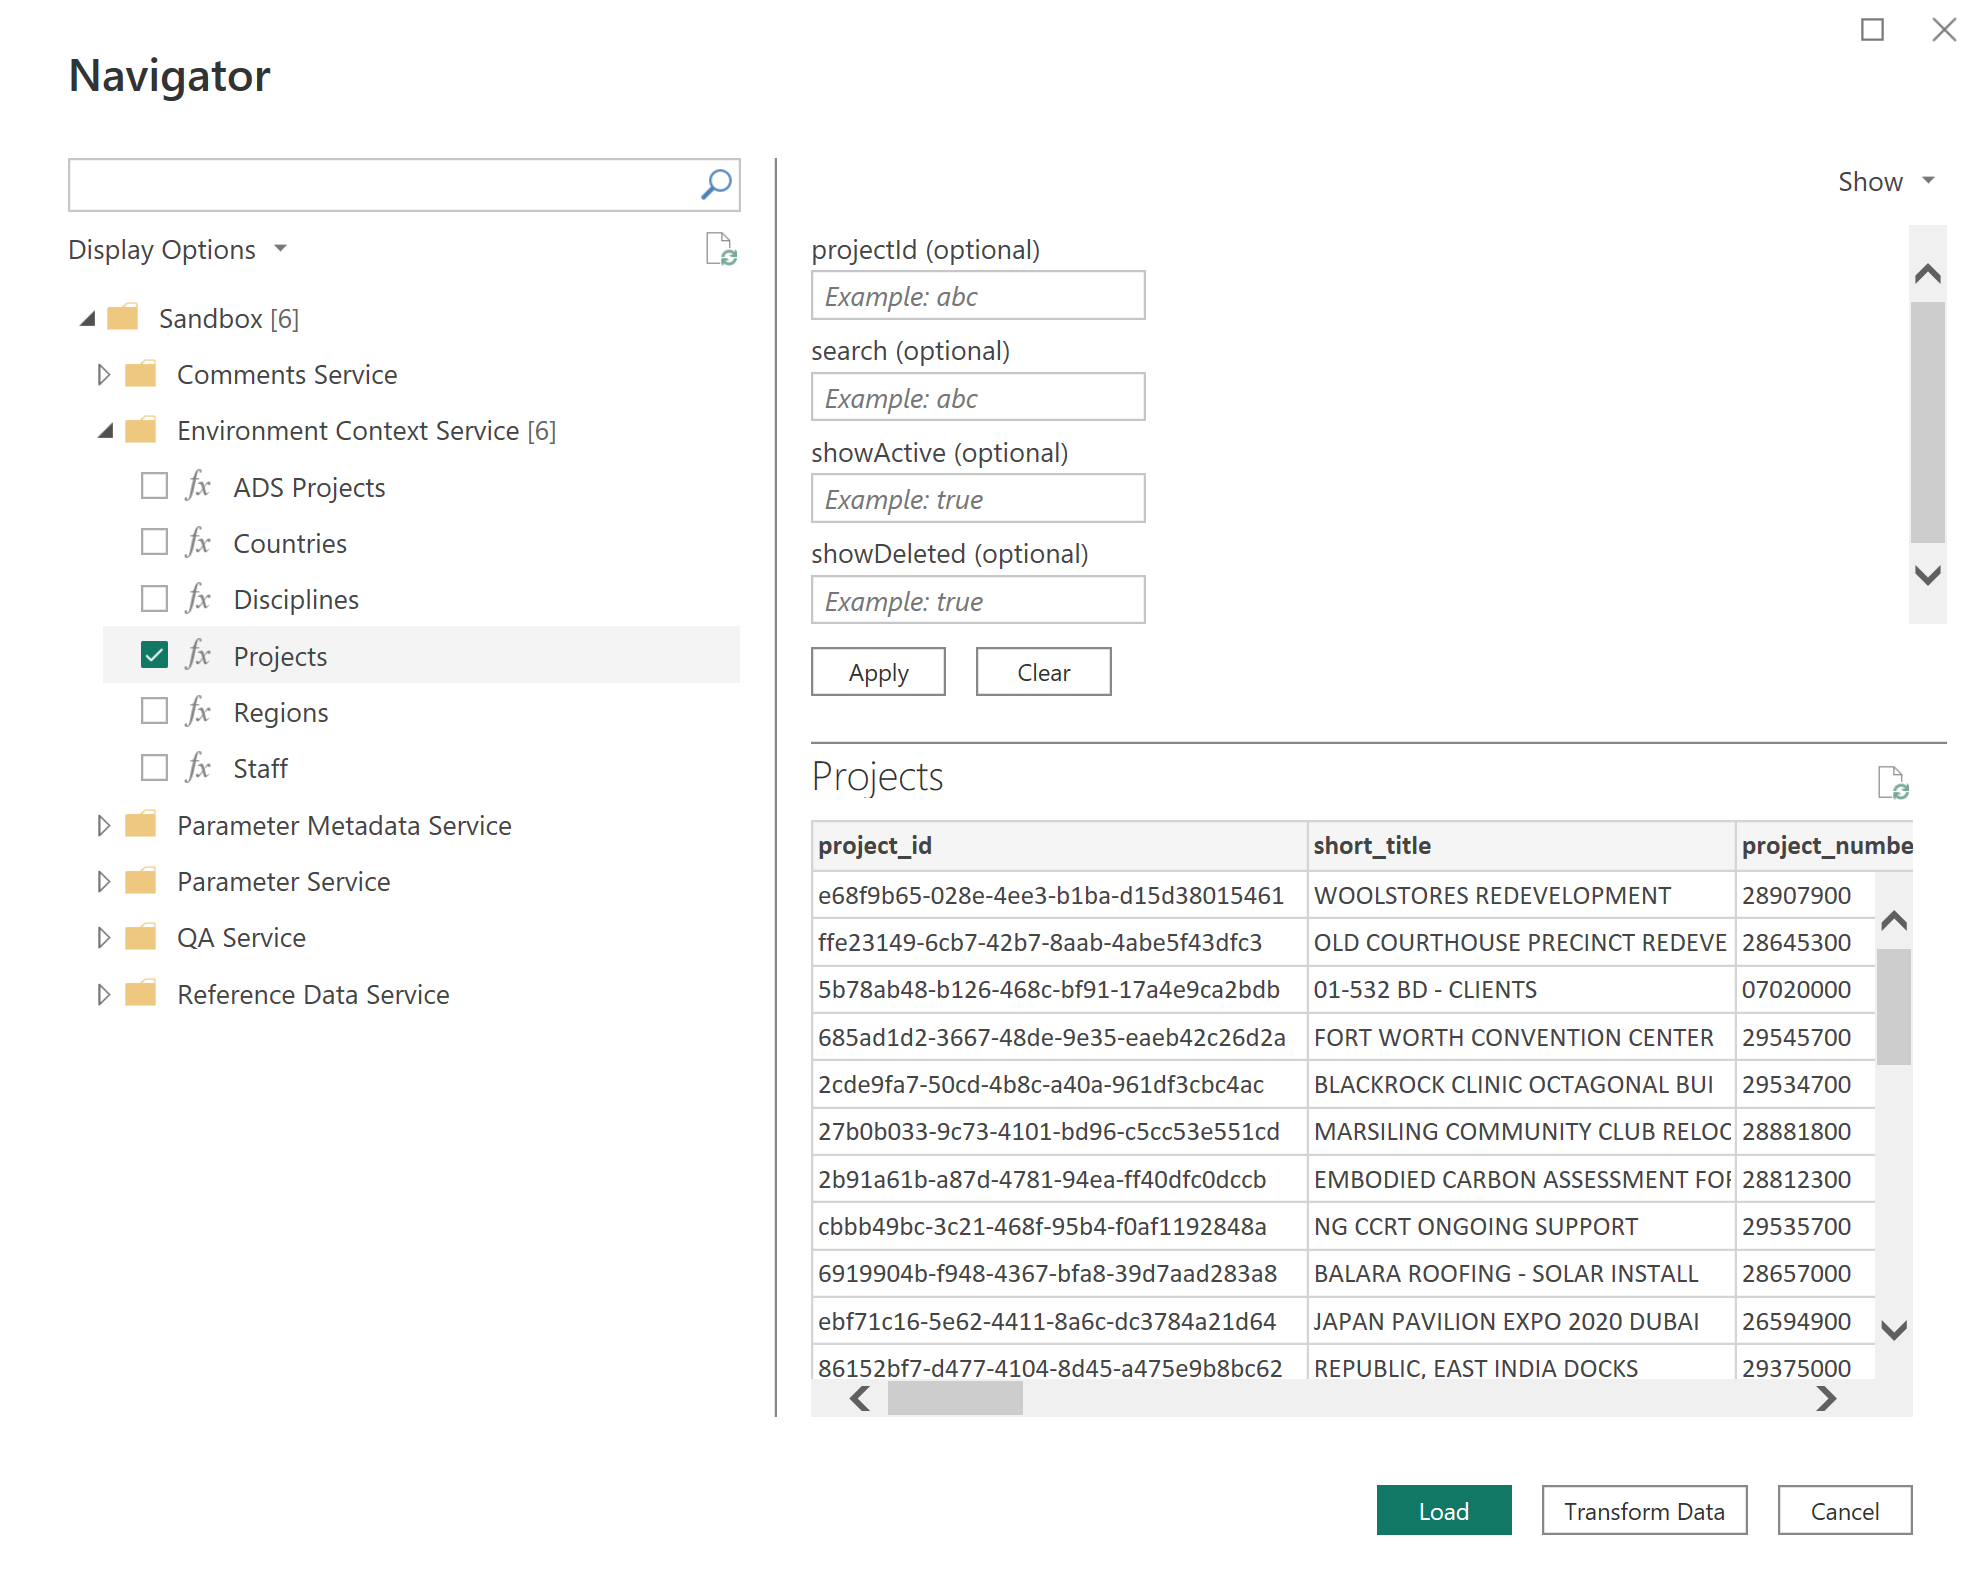
Once you have loaded your data you can start building visualisations as normal. Relationships should be autodetected, but you can add them yourself or resolve ambiguities if needed.
# Publishing and Refreshing Reports
Once you have built your report, you can publish it to the Power BI service by selecting Publish from the Home ribbon.
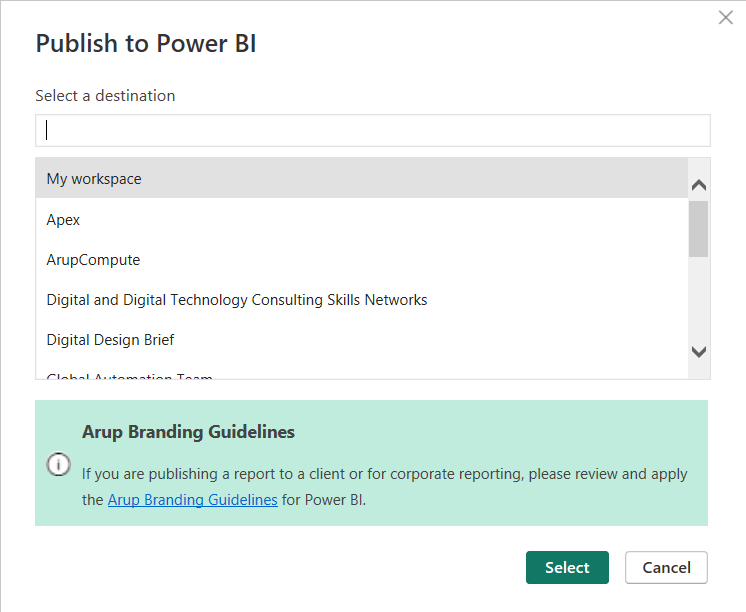
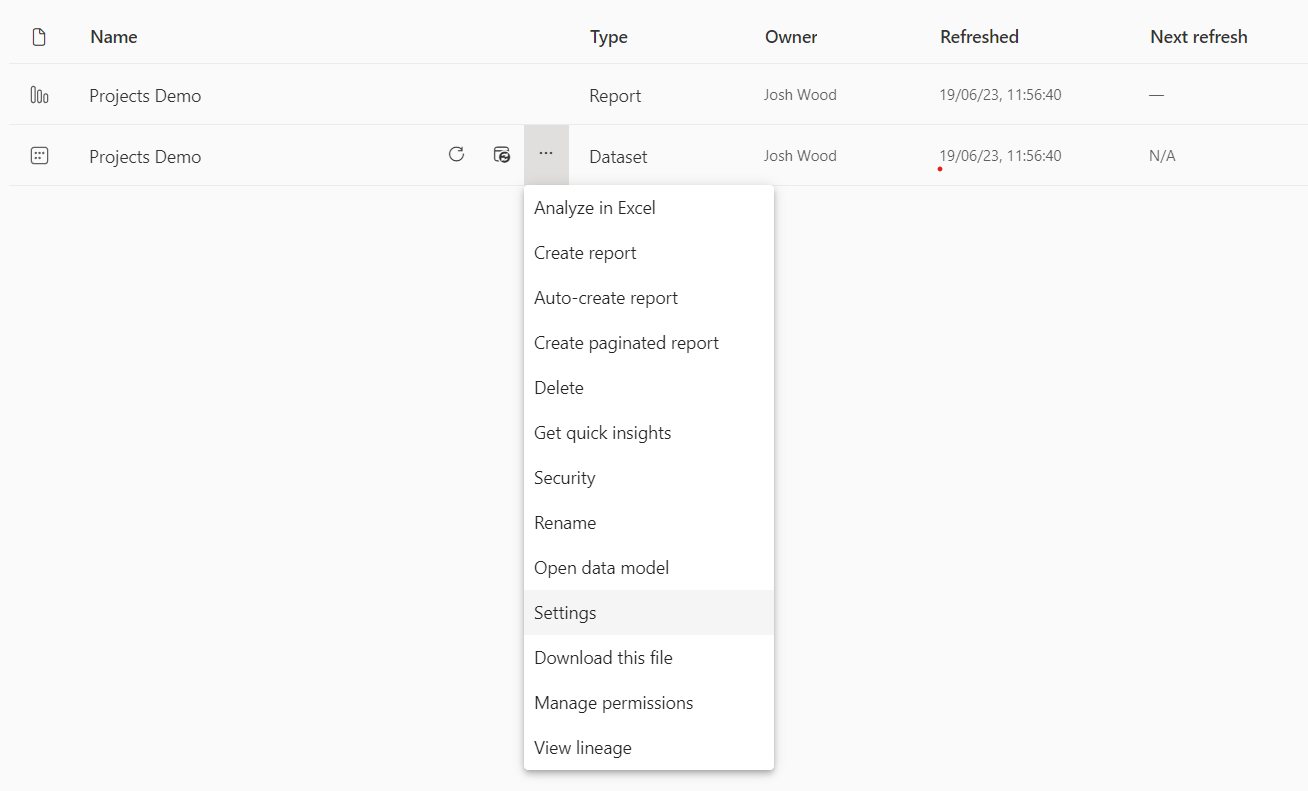
Once you have published your report, open your Workspace here (opens new window) and find your dataset. Then, open your dataset settings from the ellipsis menu.
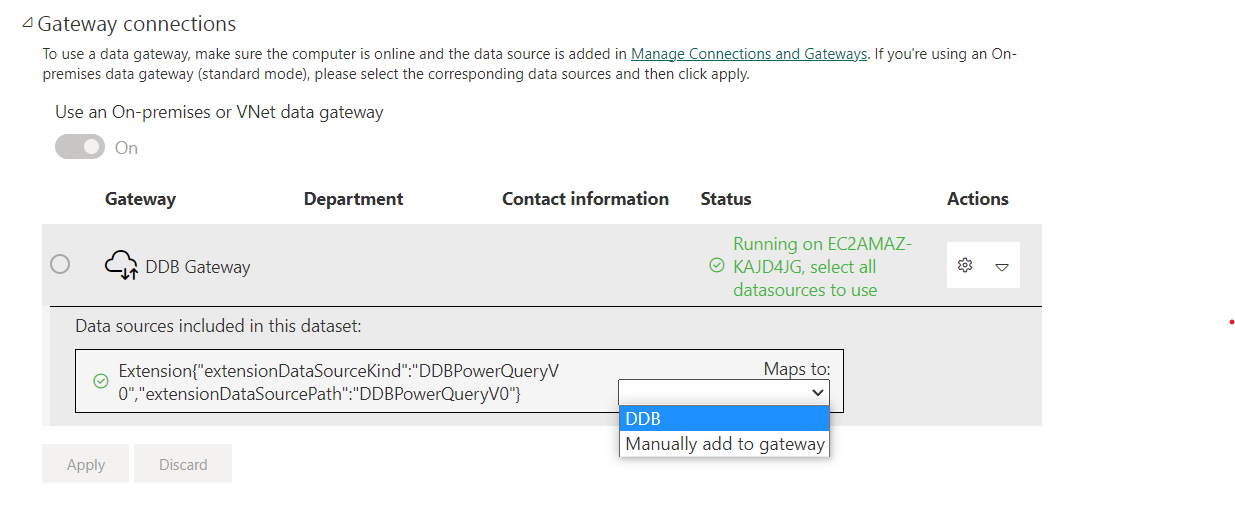
Open the Gateway connections panel and select the arrow under Actions to see a summary of the data sources used in your dataset.
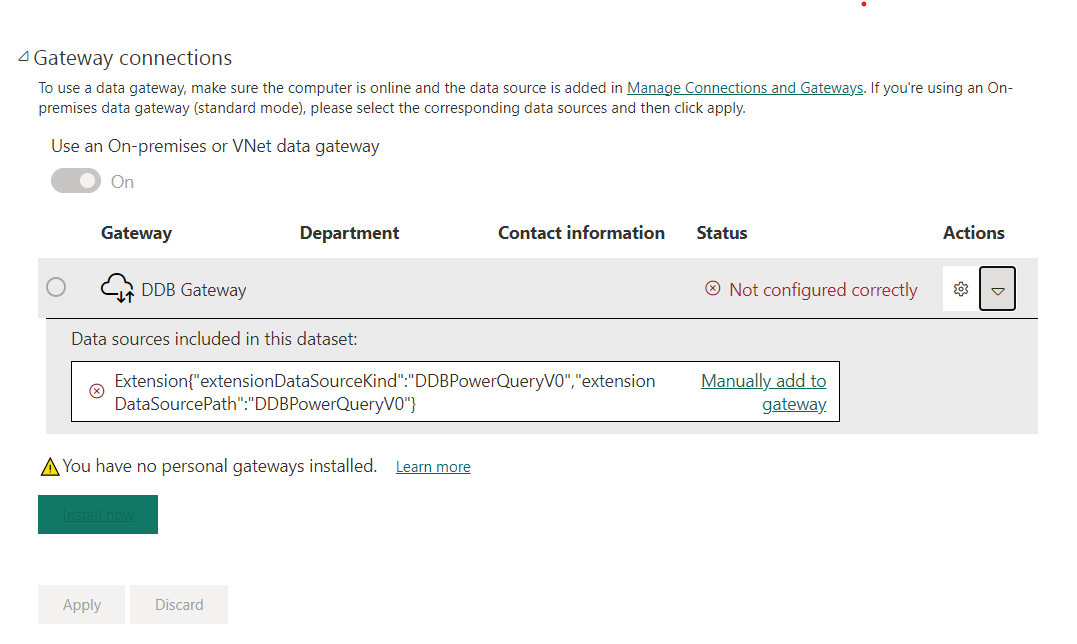
The first time you publish a report containing DDB data you will see a link with the text "Manually add to gateway". Click this link to create a new connection to the gateway. You will be prompted to set a name for the connection, and to select the environment. It doesn't matter what name you choose. Likewise, the environment you select doesn't matter, as the connection will be used for all environments. Finally, click Edit credentials and you will be automatically signed in to DDB. You can then create the connection.
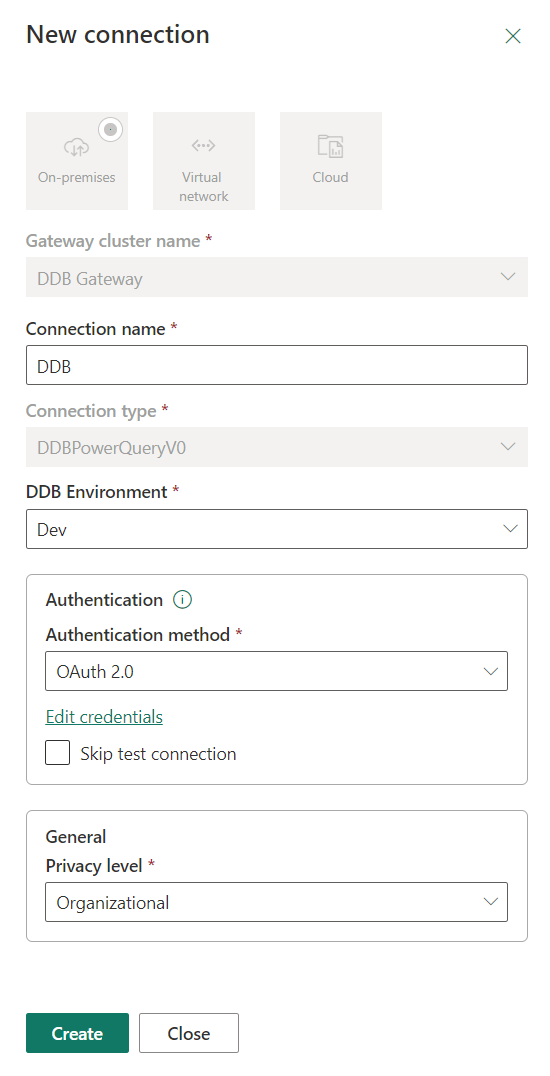
Once you have created the connection, you will be taken back to the dataset settings page. Under Gateway connections you should now have a dropdown labelled Maps to next to the data source. Select the DDB connection you just created, and click Apply. You will now be able to refresh the data in your report.
# Developer Information
The connector is stored in the ddb-microservices repository (opens new window). To work on the code, open the PowerQuery folder as the root folder in VSCode, and install the Power Query SDK extensions. The main code is in PowerQuery.pq. To run the tests, open Test.query.pq and select Evaluate current file from the Power Query SDK panel in the Explorer. You may have to set a credential, in which case select that option from the Power Query SDK panel.
The connector is built by running dotnet build in the PowerQuery folder. This will create a PowerQuery.mez file in the bin-> AnyCPU-> Debug folder. To install the connector, copy this file to the Documents-> Power BI Desktop-> Custom Connectors folder. You may need to create this folder if it doesn't exist. You can then use the connector in Power BI Desktop. You may also need to disable the security setting for uncertified connectors in Power BI Desktop.
← Postman SDKs Overview →